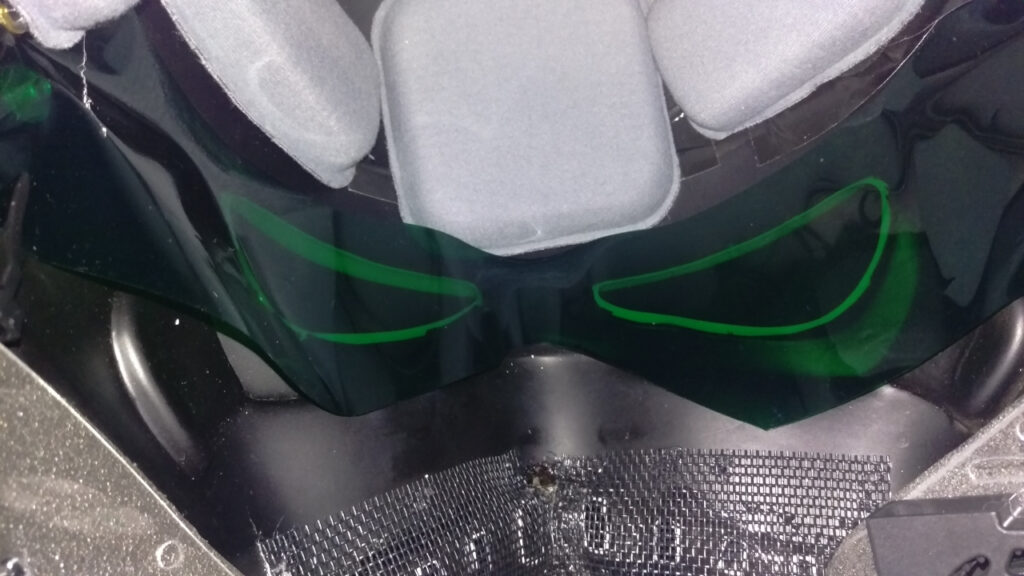
I’ve been meaning to fix the lenses in my Stormtrooper helmet for a while now. The lenses aren’t really lenses, but a thin, green acetate sheet covering both eyes and held in place by the ear screws.
This is the screen accurate way to do it, but I have never liked this setup. It feels very flimsy, and it gets in the way of everything. It is also next to impossible to clean. Discoloring and scratches from even the mildest soap and water during cleaning, and consequently a build-up of grime to avoid said discoloring, makes my field of vision permanently blurry.
A few weeks ago I built a helmet stand, and the acetate sheet did not want to cooperate at all. So I decided to finally replace it.
Luckily I already had all the materials I needed. I’ve had a 2 mm thick dark green acrylic sheet laying around for years now. I got it in spring of 2015, I think, from Trooperbay.
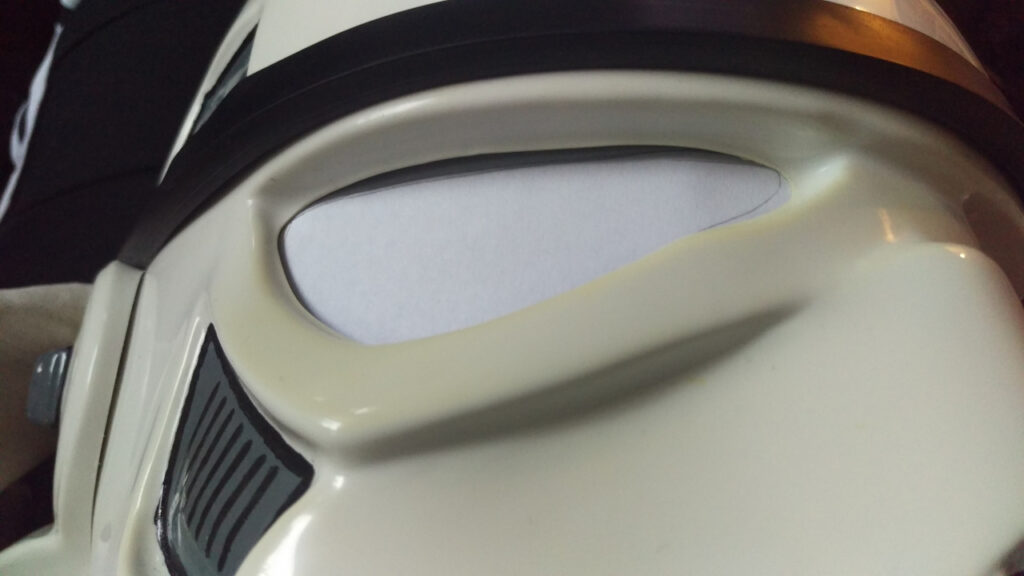
First I removed the acetate sheet. With the eye sockets uncovered, I held a piece of paper inside, and traced the hole with a pencil.
After marking the eye, I taped the paper onto the plastic and cut the shape out.
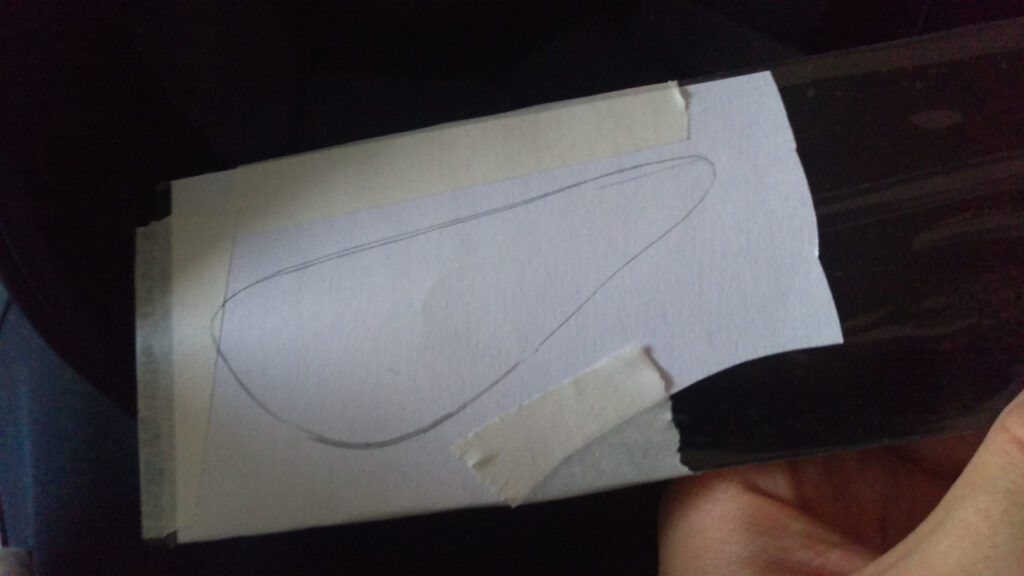
Only after doing this I realized that I needed to create a lip so that the lens would fully cover the socket and so that the glue would have something to hold on to.
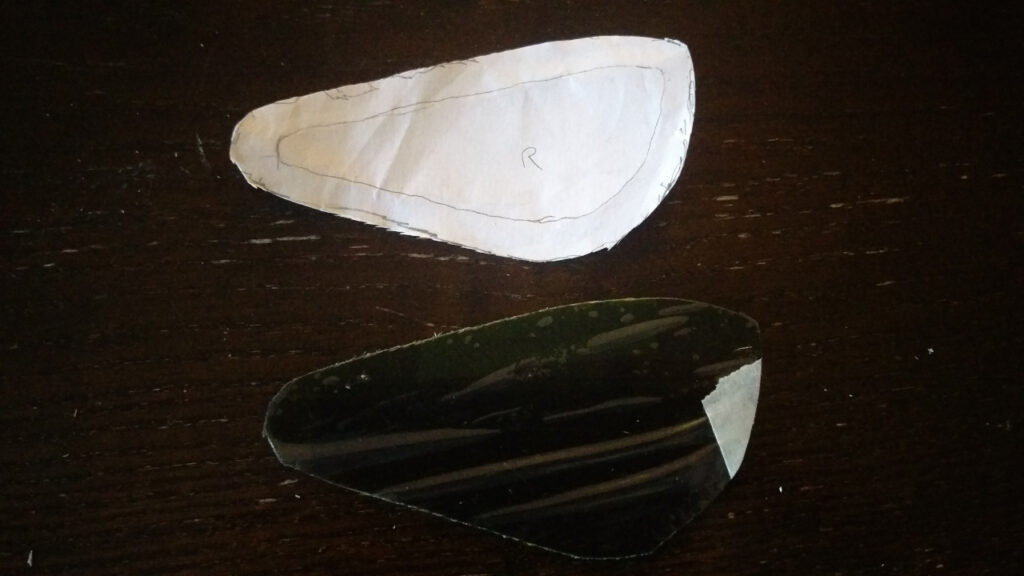
So I had to throw away the lens and start over again. This time I also pressed the paper down over the socket and traced the base, which added about 0.5-1.0 cm. And then I could cut it again.
I used lexan scissors with curved blades. I used a sharp hobby knife to remove any unclean edges. I could have used sandpaper, but that posed the danger of scratching the lens. Best not to take any chances.
Gluing the lenses would be difficult. Ideally I would have disassembled the entire helmet, making it possible to use clamps. But my dome is permanently attached to the face with pop rivets, and I didn’t want to drill them out. The solution, I figured, was to weigh the lens down onto the socket while gluing.
I then considered what type of glue to use.
Superglue/CA glue was out of the question. It would probably be too brittle to keep the lens in place, and it would be impossible to clean the unavoidable squeeze-out that would seep through to the outside.
Hot glue would be easier to clean, but it would be dangerous to use since the heat could melt or warp the plastic. I’ve seen trooper helmets looking very droopy eyed and sad, and I wanted to avoid that.
Next I considered E6000. It would be strong enough once dried, and certainly easy enough to clean the squeeze-out, but since it is quite liquid the first few hours, I’m not sure it would be able to hold. I think it would have just drained away before setting properly, leaving an unattached lens and a mess inside the face plate.
I then remembered that I had some leftover packs of putty from my Boba Fett helmet. This is perfect for the job. The putty doesn’t run, it is easy to clean, and it is strong when dry.
Here’s a thread on the FISD forum that explaines how to use putty to glue the lenses: HOW TO: Attach lenses using SUGRU, by justjoseph63. I used a brand called Kintsuglue instead of Sugru, but other than that I did it pretty much the same way as described in this forum post.
I glued one lens at a time, letting it dry for about 24 hours before continuing. To weigh down the lens I used dumbbells. I placed the helmet with the eye facing straight down, and balanced the dumbbell on top of the lens. I used pieces of foam rubber to keep the dumbbell from falling.
I actually had to spend four days gluing. I first glued the right side lens with a 1 kg dumbbell. Unfortunately the lens wasn’t properly pushed down, so the putty didn’t have enough material to grab on to.
I had to clean the lens and socket and try again, this time with a 3 kg dumbbell. The putty did grab this time, but the next day I saw that tiny fractures had started to form in the lens. Luckily no cracks, and the fractures is not visible from the outside or noticable from the inside.
I didn’t want the final lens to crack under the weight. I don’t have any material left to make another lens. So when I glued this one, I used a 2 kg dumbbell, which was just about the right weight.
Once both lenses had been glued securely in place , I added a bit more putty around the edges. Mostly for aesthetics, but also so that nothing can catch on the lip and rip out the lens by accident. I let the lenses dry for another day.
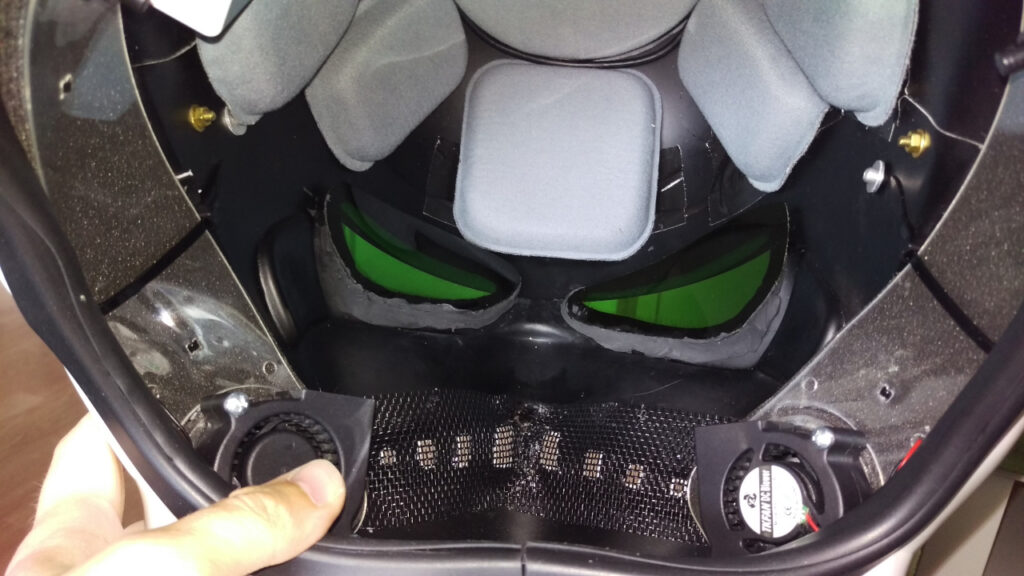
The new lenses look great. I still can’t see much, since my human eyes aren’t 20 cm apart, but that’s just a feature of these helmets. At least my tiny field of vision isn’t blurry anymore.
I have yet to try the new lenses on a troop. I don’t know how much they will fog up now that there’s less airflow from the eye sockets. But since these are acrylic lenses, not acetate sheets, I can use soap to help combat fog. Maybe even the anti-fog cleaning solution I use on my regular glasses?
(Mental note: Test the cleaning solution on leftover scrap pieces of the acrylic, just to make sure no discoloring or other bad things will happen.)
Other than that, the helmet is ready to use again!
Tools and materials used:
- Dark green acrylic sheet
- Paper
- Pencil
- Curved plastic scissors (Lexan)
- Hobby knife
- Painters tape
- Disposable gloves
- Tongue depressor/popsicle stick
- Putty (Sugru/Kintsuglue)
- Dumbbells
- Foam rubber