The helmet was mostly done when I recieved it, but it was missing a key feature: The mole/data port on the right cheek.
It is believed that the mole were from some type of dentistry equipment, a 3-hole Borden connector. I have a metal replica of one of these.
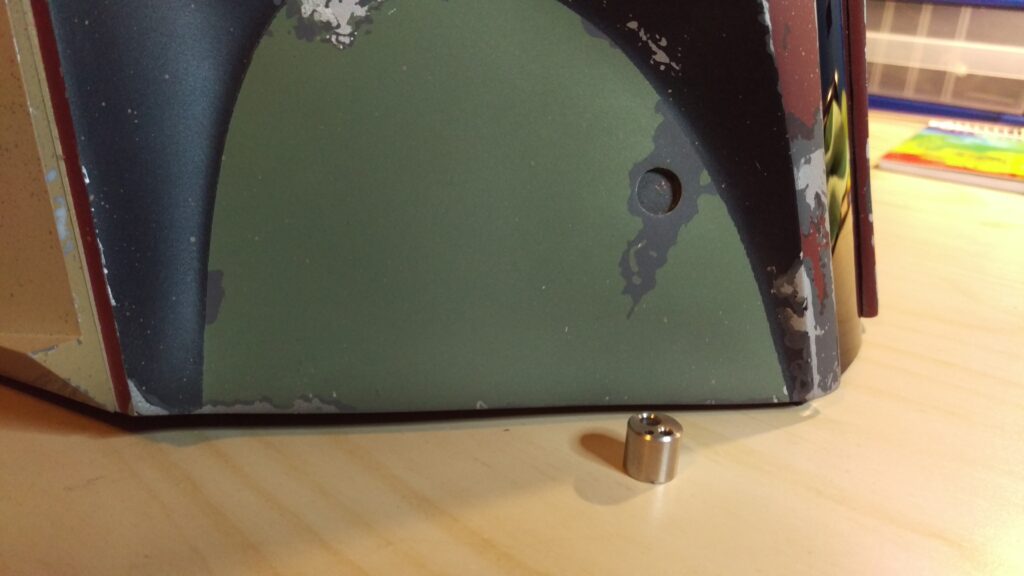
My helmet came with a pre-drilled slot to install the borden, but unfortunately it didn’t fit. The depth of the hole was too shallow, so I needed to make a hole all the way through. And the diameter of the hole was too small. But not by much! The hole only needed to be widened by 1–2 mm.
Drilling into the helmet was very scary. Mostly because the helmet had already been painted, but also because it felt wrong to make holes in a perfectly good helmet.
After I drilled and widened the hole, I attached the metal piece with hot glue and a putty that hardens into some kind of rubber-like material.
The putty I used is a brand called Kintsuglue. It behaves, feels, looks and even smells exactly the same as a brand called Sugru, which I usually use. Unfortunately Sugru isn’t available in local hardware stores anymore, so I opted for this instead.

Tools and materials used:
- Rotary tool
- Conical rotary bit
- Drill
- Drill bits, various sizes
- Painters tape
- Hot glue
- Putty (Kintsuglue)
The helmet will probably pass basic approval now (*fingers crossed*). But it won’t make the next level because the rangefinder lights aren’t real. I’ve already started looking for replacement parts.