This is attaching the armor to the vest, part two. If you want to learn how I attached the screws to the armor, see part one.
The screen accurate way to attach the armor to the vest is plastic screws through brass grommets in the vest. This is not nessesary for basic approval, but you’ll need to do this if you are aiming for accuracy.
I originally had planned to use locking pins and change them out for screws and grommets later. But since December came and went, I decided to go straight to the screws and grommets. No need to do the work twice!
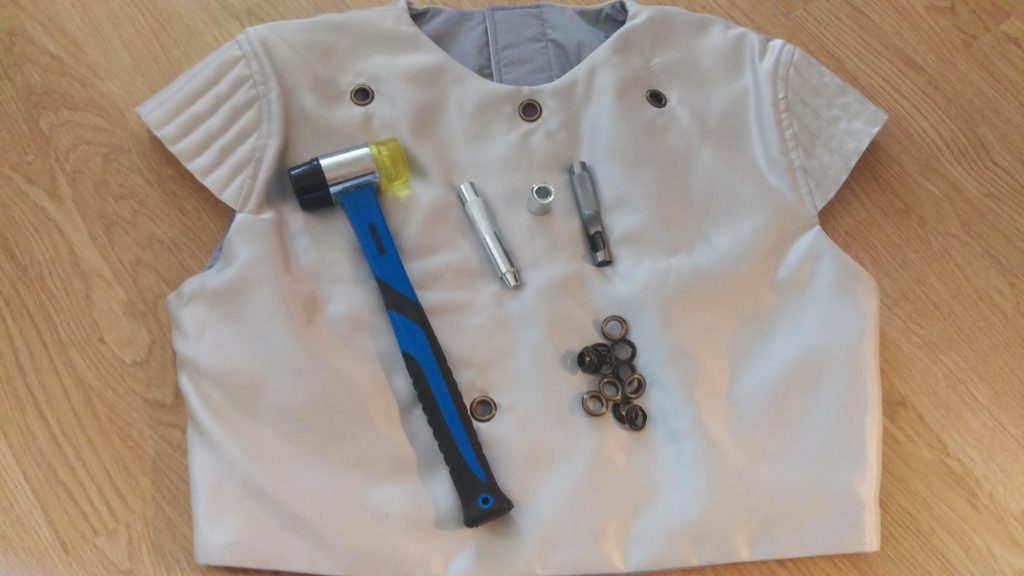
Setting grommets isn’t that difficult. You make a hole slightly smaller than the inner diameter of the grommet. If the grommet is 12 mm, the hole should be 10-11 mm. The grommet comes in two pieces. One mostly flat ring, and one ring with a tall cone shape. Push the cone into the hole from the outside, and thread the flat ring onto the cone on the inside. Use a grommet tool with the correct diameter and clamp or beat the grommet so that the cone folds over the flat ring. Done.
Even though that part is easy, there were some challenges along the way.
First: The holes! The tool I initially used performed poorly. I struggled to make clean holes, so I had to try out a few different tools.
Second: I didn’t have any hard surfaces to work on – not any I would like to hit with a hammer anyway – so I had to improvise. The solution came in a piece of plywood to protect my table and a well-seasoned, greasy cast iron skillet wrapped in a plastic bag to use as an anvil.
And third: It was very tedious work. I had to wear the vest to measure. The geometry on the body is different from when the vest lays flat. So the process went: put vest on, find placement, mark it, take vest off, make hole, set grommet. An repeat. For every… single… screw. Tedious! There’s probably better ways to do this.
Once all grommets had been installed, I could finally start weathering the vest.
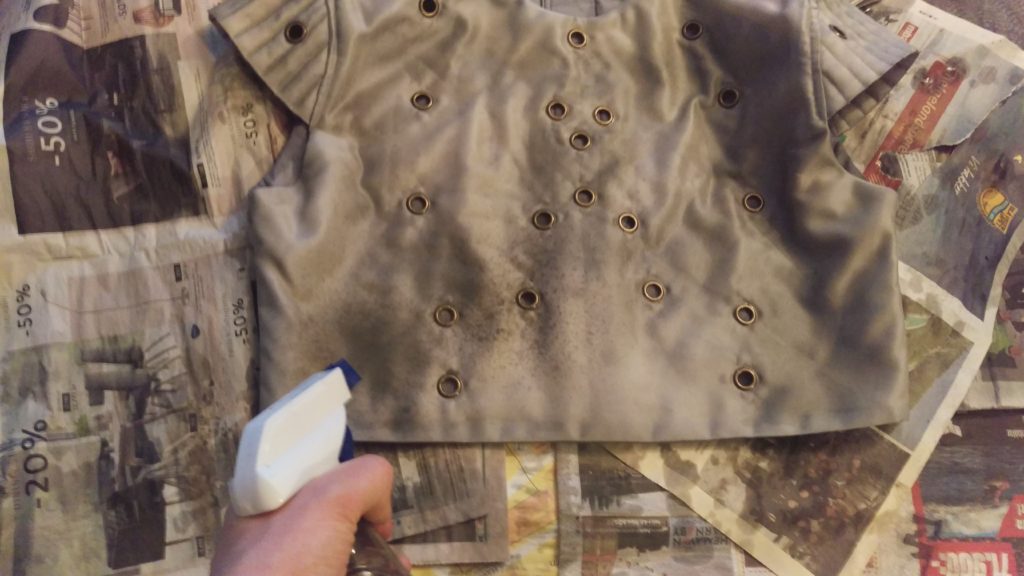
I first used the wet-on-wet-technique from the flight suit. The vest material didn’t soak up the moisture quite the same way, so it look terrible once it had dried. I threw the whole thing in the washer and hoped for the best. Most of the paint came out, but it still had a few ugly spots left.
Next I wrapped the armor pieces in plastic and screwed them in place. I sprayed the vest with a mist of water before airbrushing it. I had to go a bit darked than I would like to hide the bad spots from before (especially between chest and neck), but it does look much better this time.
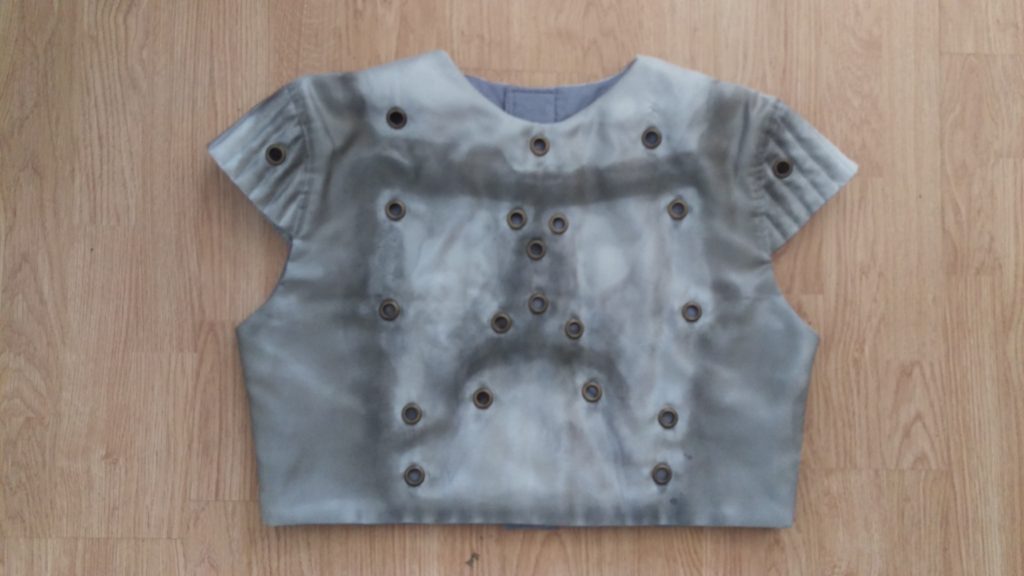
Maybe I’ll airbrush a mist of heavily watered down light grey to brighten the thing later, but I’ll let it be for now.
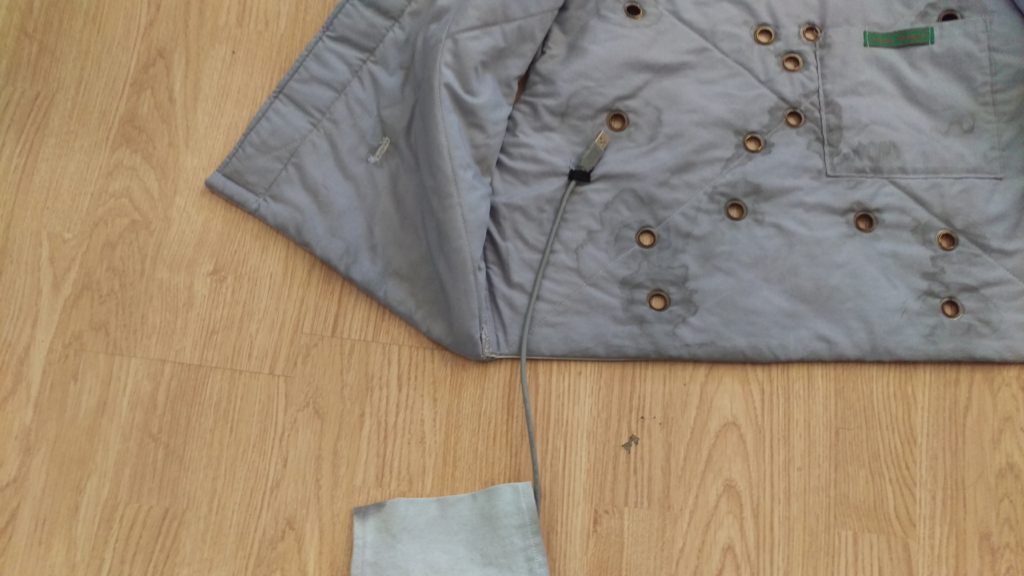
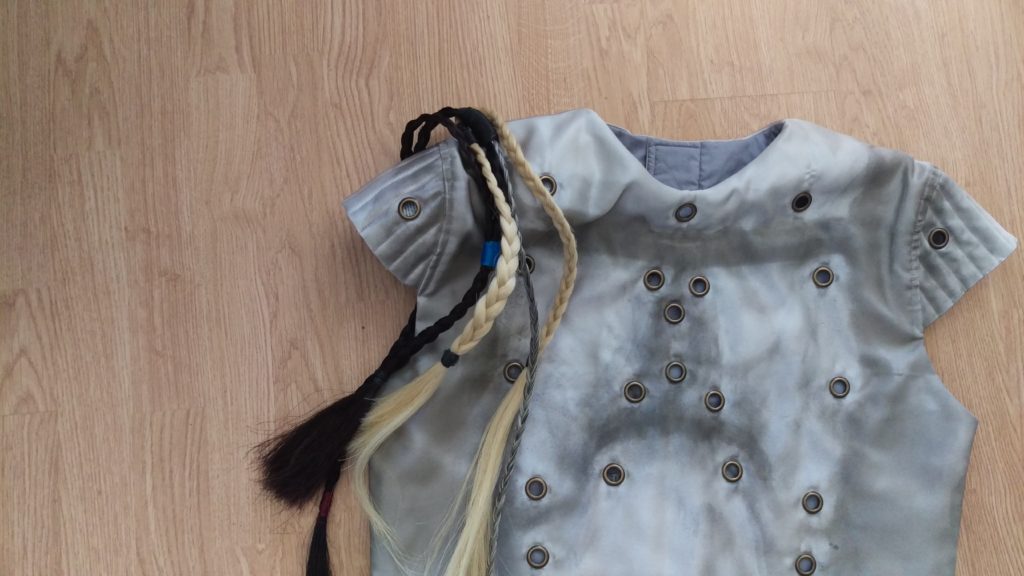
The armor pieces are in place, the vest has been weathered, I’ve sewn in a small (non-functional) grey wire that will run down to my pocket, and I’ve attached a small piece of velcro on top of the right shoulder for the wookiee braids.
Tools and materials:
- Grommets, antique brass, 12 mm
- Hole punch
- Grommet setting tool
- Anvil (actually a cast iron skillet dressed in a plastic bag)
- Mallet
- Hammer
- Scissors
- Painters tape
- Pencil
- Pieces of flat ABS plastic
- Needle and thread
- Spray bottle
- Damp cloth
- Acrylic paint: black, brown, grey
- Airbrush
- Plastic wrap
- Velcro
- Grey USB cable from a discarded MP3 player
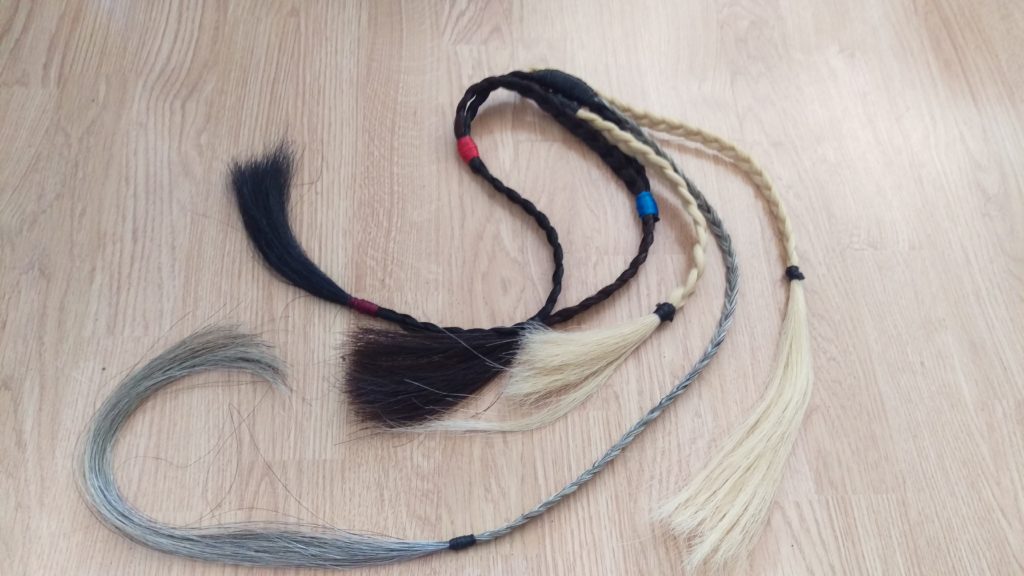
- Horse hair braids